Asian Countries eligible for e-medical VISA to India
Introduction
E-medical VISA to India is available for the following Asian countries – Armenia, Azerbaijan, Brunei, Cambodia, China, Hongkong, Macau, Cyprus, East Timor, Georgia, Indonesia, Japan, Kazakhstan, Kyrgyzstan , Laos, Malaysia, Mongolia, Myanmar, Philippines, Republic of Korea, Russia, Singapore, Sri Lanka, Taiwan, Tajikistan, Thailand, Uzbekistan and Vietnam.
If travelers or their spouses, parents, or grandparents were born in Pakistan or ever held Pakistani nationality, they are not eligible for an Indian e-medical Visa. They must apply for regular medical visa.
Requirements for e-Medical VISA
- Passport valid for at least 6 months and should have at least 2 blank pages. You will need a digital copy of the bio page of your passport in PDF format.
- Invitation letter from the hospital on its letter head.
- A recent picture of the applicant in digital JPEG format.
- A Credit or Debit card to make the VISA fee payment. The payment can also be done by a Paypal account.
General Information about e-medical VISA
- The e-medical visa is valid for 60 days from the date of arrival to India with 3 entries.
- It takes around 2-4 days for VISA issuance.
- The e-medical VISA fees vary with the country of the applicant. You will get to know the exact amount after filling the e-medical VISA application form on payments page.
- It may also vary if you need to apply it on an urgent basis. Usually, the cost ranges from 80 – 100 USD. For some countries, it can cost you as low as 25 US dollars.
- A few countries are also exempted from this fee. These countries are Argentina, Cook Islands, Fiji, Indonesia, Jamaica, Kiribati, Marshall Islands, Mauritius, Micronesia, Myanmar, Nauru, Niue Islands, Palau, Papua New Guinea, Samoa, Seychelles, Solomon Islands, South Africa, Tonga, Tuvalu, Uruguay, and Vanuatu.
- E-medical VISA is non-extendable, non-convertible and not valid for visiting the restricted areas. The e-medical Visa can be applied twice in a year.
- E-medical attendant VISA has to be applied separately. It has similar process as e-medical VISA. The cost and validity are same as the e-medical VISA of the patient.
- Two (2) medical attendants can be provided with medical attendant VISA and accompany the patient. Although, due to current COVID scenario, only one medical attendant can travel with the patient.
Steps to apply for e-medical VISA
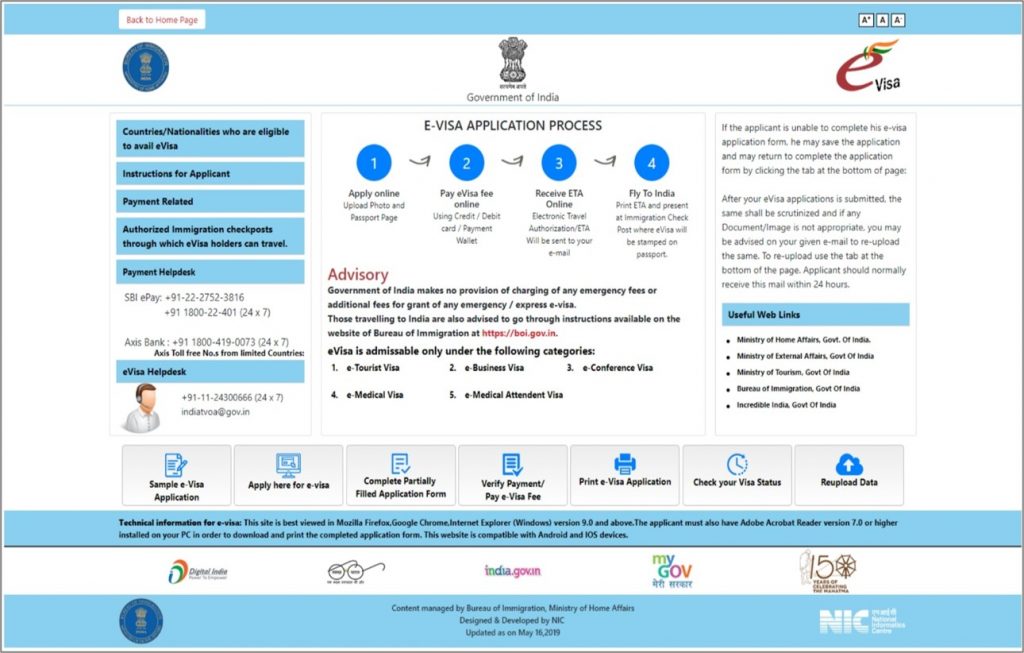
- Visit https://indianvisaonline.gov.in/evisa/ and click on “Apply here for e-visa” to start filling the application.
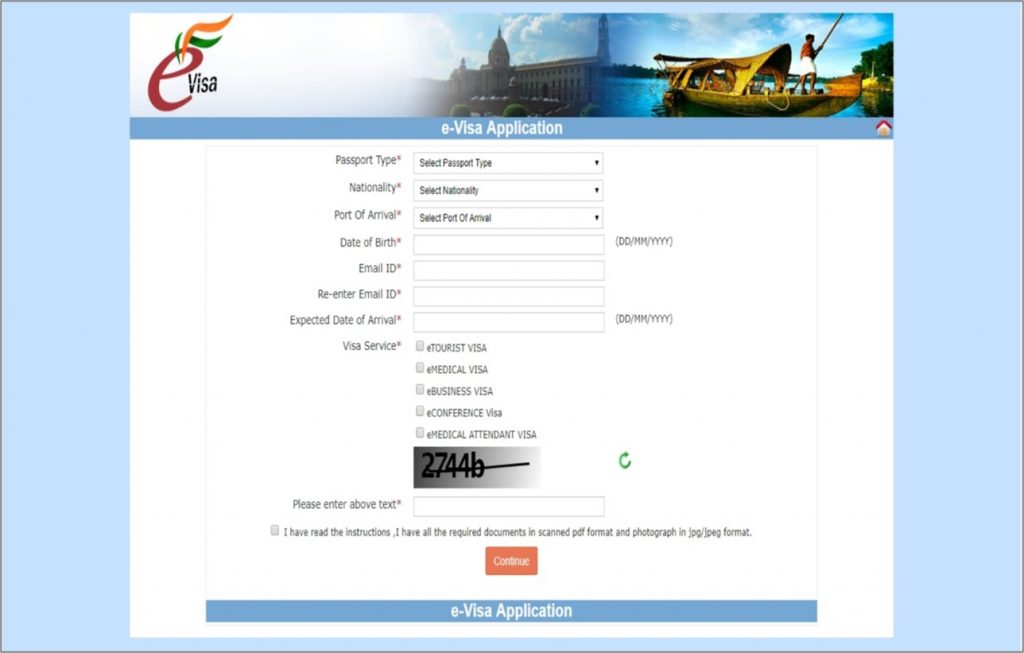
2. Application Process First Page – Put in the information regarding the passport type, your nationality, port of arrival and the type of visa you want to apply for. Put in the data for expected date of your arrival in India, your Date of birth, email, etc. and then enter the verification code before clicking on ‘Continue’.
3. Application Process Second Page – In the next page, fill in your personal details in the relevant section, then passport details present on your passport bio page.
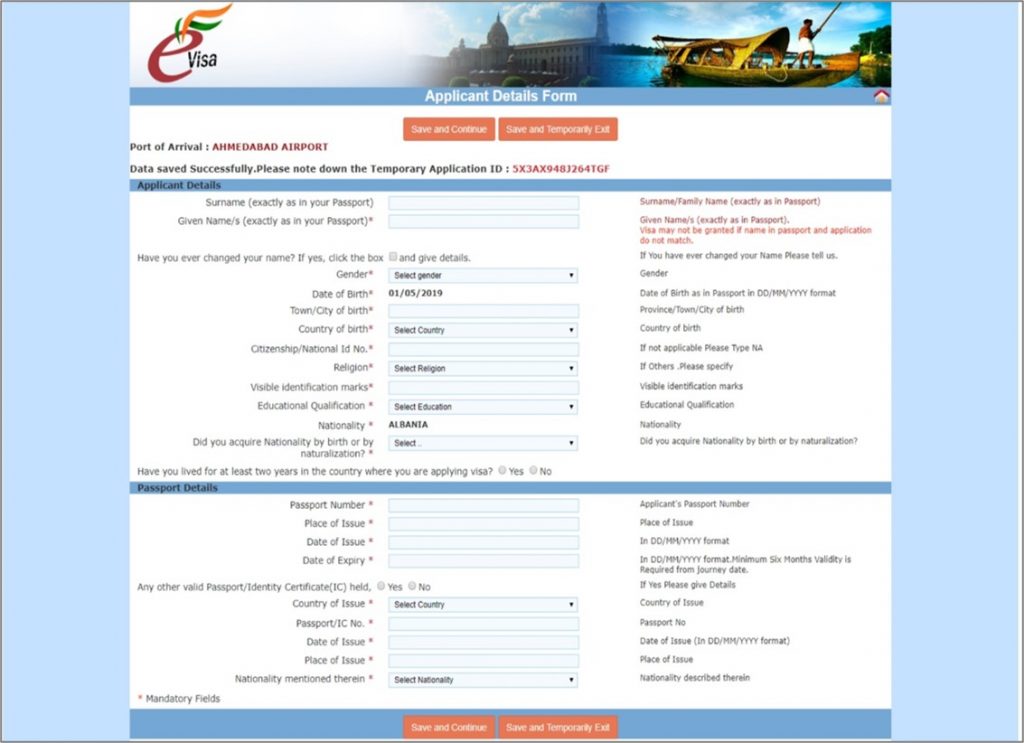
You can choose ‘Save and Continue’ to continue with the application or select ‘Save and Temporarily exit’ if you want to fill the form later.
4. Application Process Third Page – In this page, fill in the details of your current & permanent address, then provide the information details for Family Details sections.
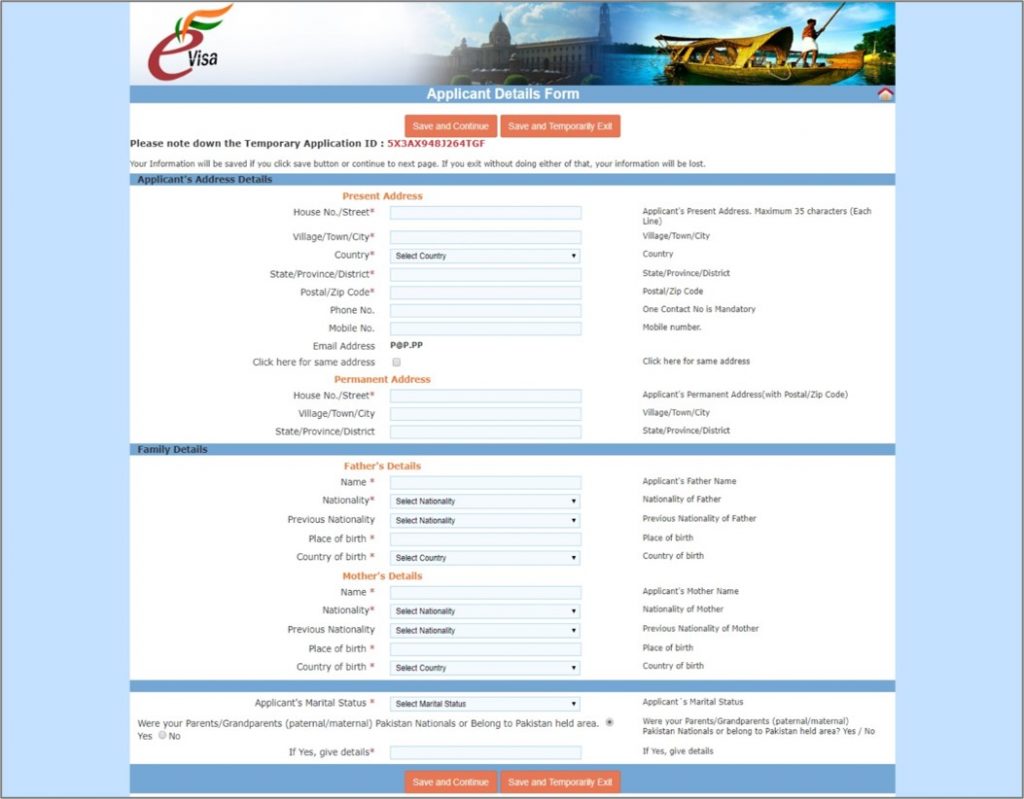
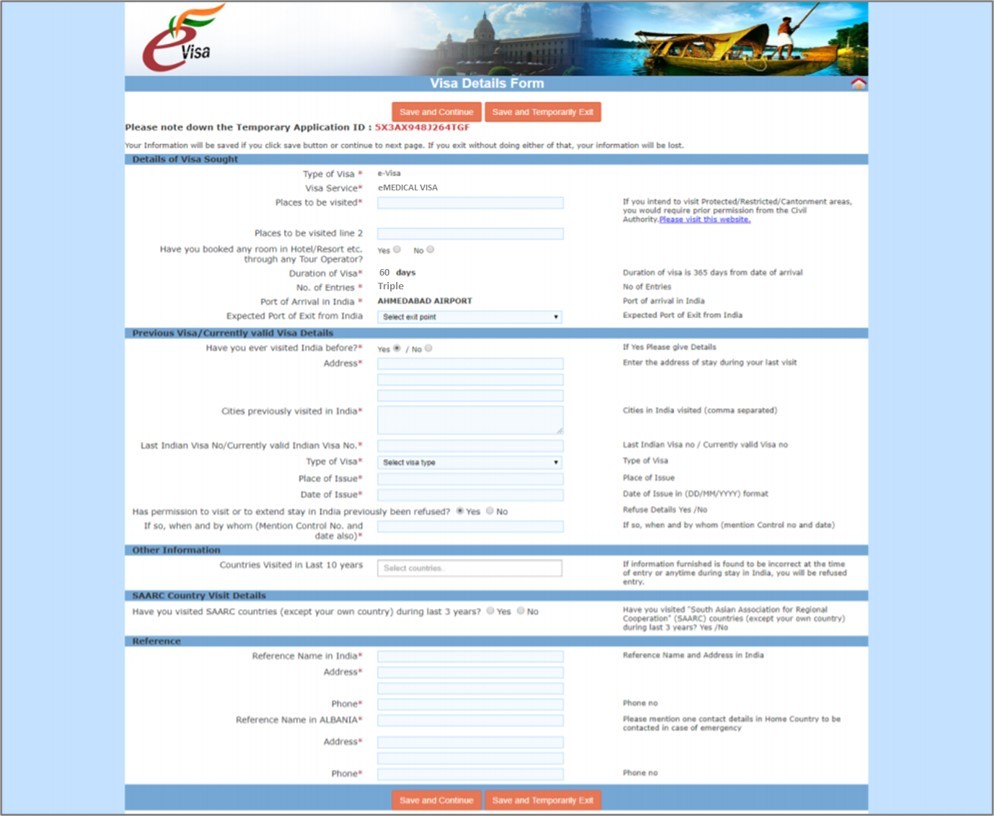
5. Application Process Fourth Page – Fill the details of the place(s) you will visit for treatment and expected port of exit from India. In the other section, put in the details of your previous visa or currently valid visa – whether you have visited India previously and if yes, then – enter the address of the place where you have stayed, cities that you visited, number of your last Indian visa or currently valid Indian visa no., whether the permission to visit or visa extension has been refused earlier or not – state the reason if yes. Then provide information on the countries you have visited in the last 10 years and whether you have visited SAARC countries in the past 3 years. In the next section, fill in the details of your reference contact in India as well as details of reference in your country. If you are travelling through global medicure, you can use our office address as reference and our case manager will guide you further on this.
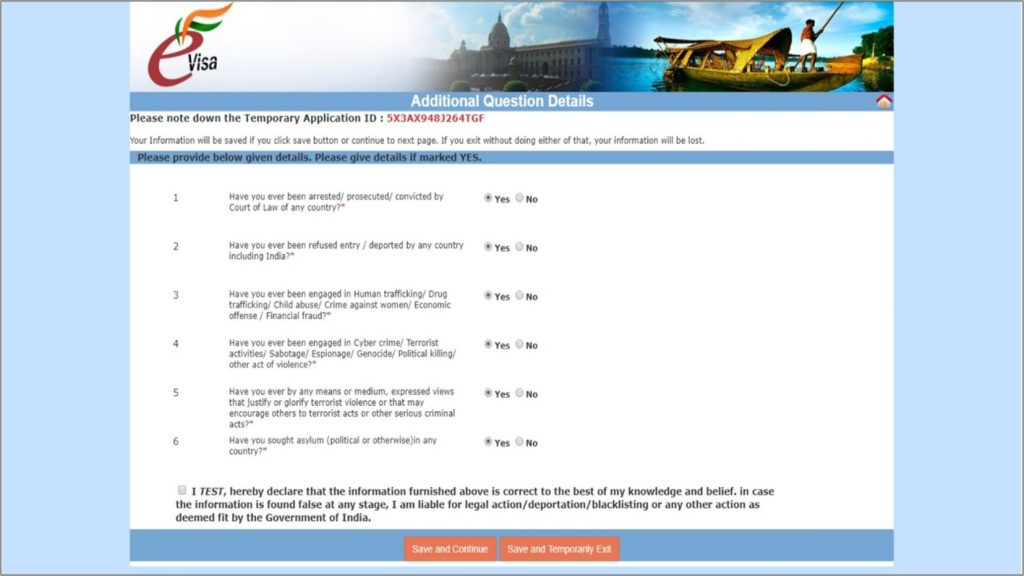
6. Application Process Fifth Page – A new page will appear after clicking on ‘Save and Continue’, consisting of a list of additional questions. Carefully go through these questions and answer by clicking on Yes or No. After this, click on ‘Save and Continue’ to proceed.
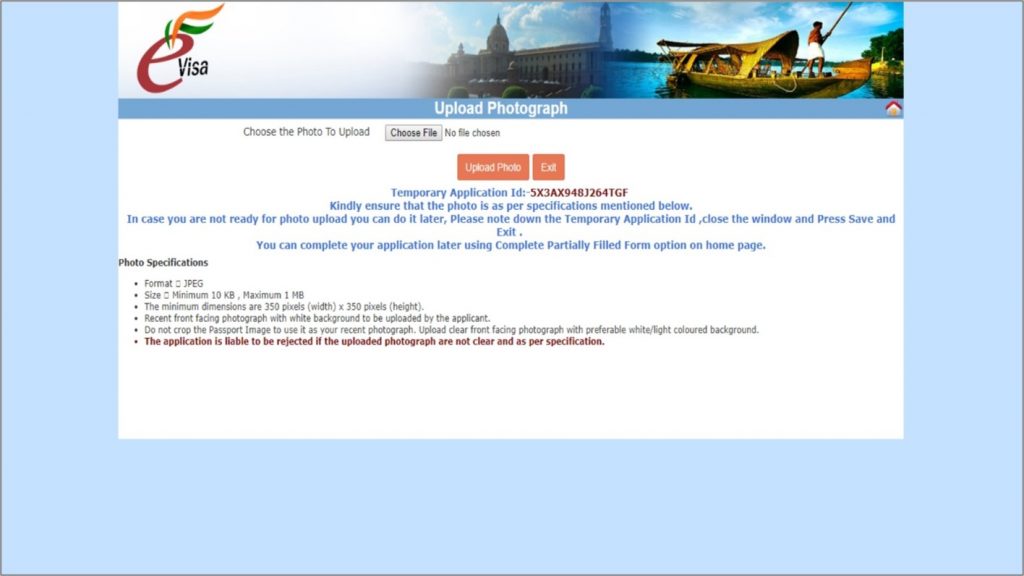
7. Application Process Sixth Page – In this page, you upload your photograph by clicking on ‘Upload Photo’. The general requirements of photograph are as follows – it should present Full face, front view, eyes open; Center head within the frame and present full head from top of hair to bottom of the chin; the height and width of the Photo must be equal; the photograph should be without any borders and the background should be plain light colored or white background and no shadows on the face or on the background. Make sure that your digital photo is under the specified size limit of the requirement as specified in the below image. Global medicure case manager can help you getting the right resolution and size image if there are any issues.
8. Application Process Seventh Page – In this page, upload the medical documents and passport copy on the next page and click on ‘Confirm’.
9. Application Process Eighth Page – A preview of your application form details will be displayed in this page. Check the information on the preview and then click on ‘Verified and Continue’ if it is correct or choose ‘Modify’ to edit the application.
10. Application Process Ninth Page – After clicking on Verify and Continue, you will be directed to Onlive Visa Fee Payment. You can pay the visa fee by clicking ‘Pay now’ after selecting ‘Yes’ for the Undertaking. In case you do not want to pay right then, select ‘Pay Later’. You can make payment whenever you are ready, by going to https://indianvisaonline.gov.in/evisa/ and clicking on ‘Verify Payment/ Pay e-Visa fee. Put in your Application ID and Date of Birth to access the payment portal.
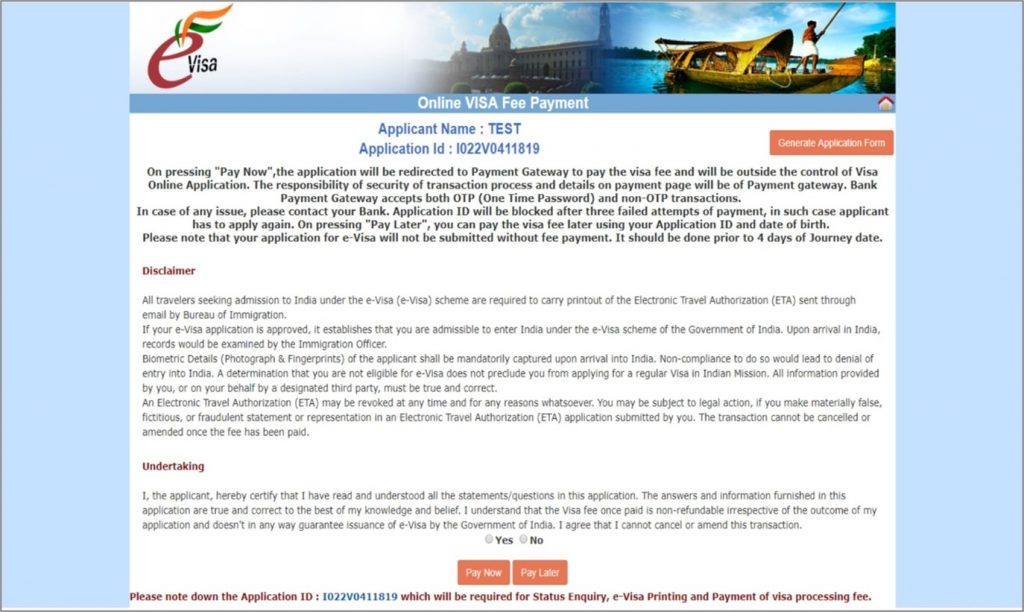
Note: Visa application is not submitted till the fee payment is made and it should be done 4 days before your journey.
You will receive an email from the Officials regarding your application (acceptance/rejection). You can print your visa application form by selecting the option on Indian eVisa website.
FRRO Registration after arriving in India
Foreign nationals visiting India are required to register themselves at the regulatory body – Foreign Regional Registration Office (FRRO)/ Foreign Registration Office (FRO) within 14 days of their arrival into the country.
This is applicable to all foreigners that are above 16 years of age. You can register by reporting for registration yourself or through an authorized representative at the Foreign Registration Office.
Online registration can also be done – visit the official government website https://indianfrro.gov.in/frro/ and fill in the registration form and make payment. You have to upload the required documents and your recent photograph while applying online.
Fine for late registration is US$ 30/ (This fee might get revised over time)
The following documents are required for FRRO registration:
- Original and photocopy of the passport
- Original and photocopy of the visa
- Applicant’s four recent passport size photographs
- Residence Proof
- Official letter from the concerned Indian hospital where the patient is seeking treatment along with the relevant medical documents and duration of expected stay. If the applicant is already admitted at the hospital, then a medical certificate consisting of applicant’s attested photo and a certificate from the doctor must be submitted.
Global Medicure team will take care of patients’ and attendants FRRO registration.